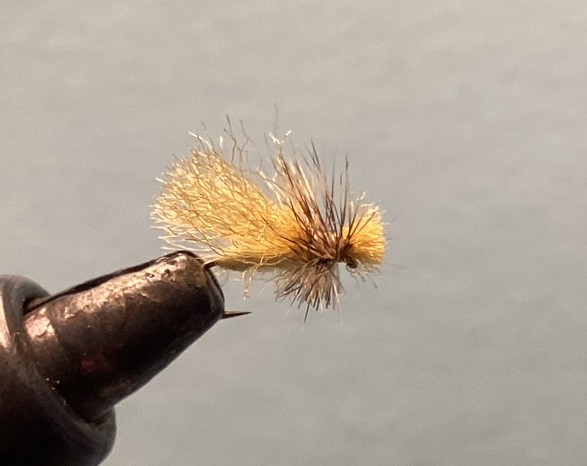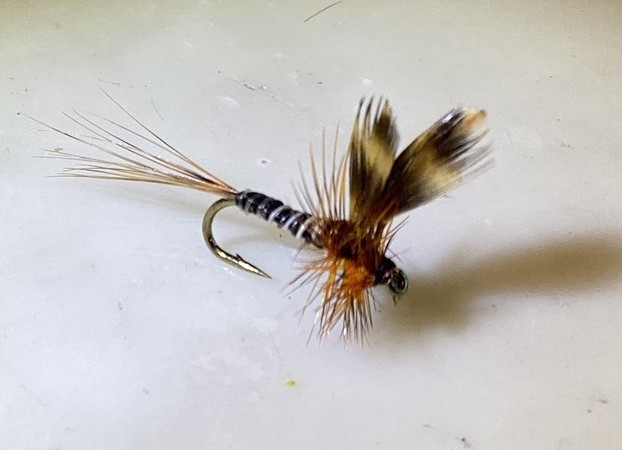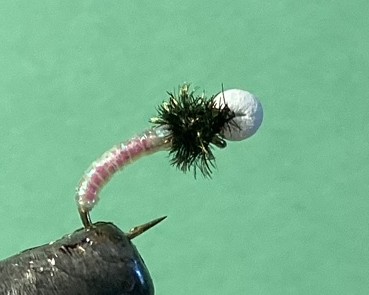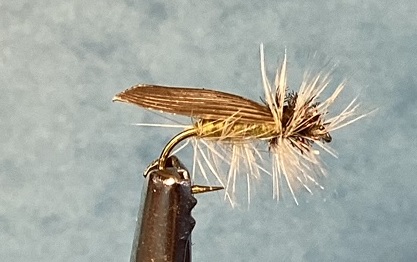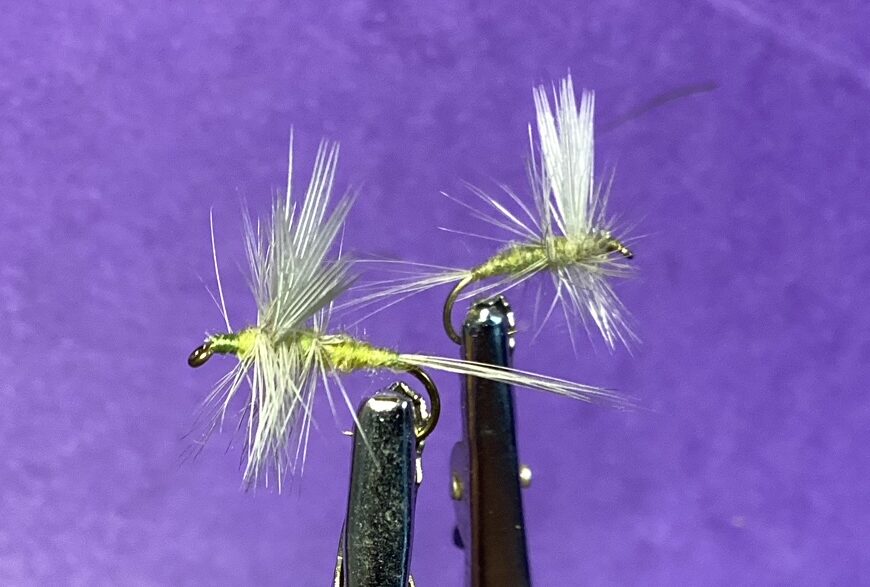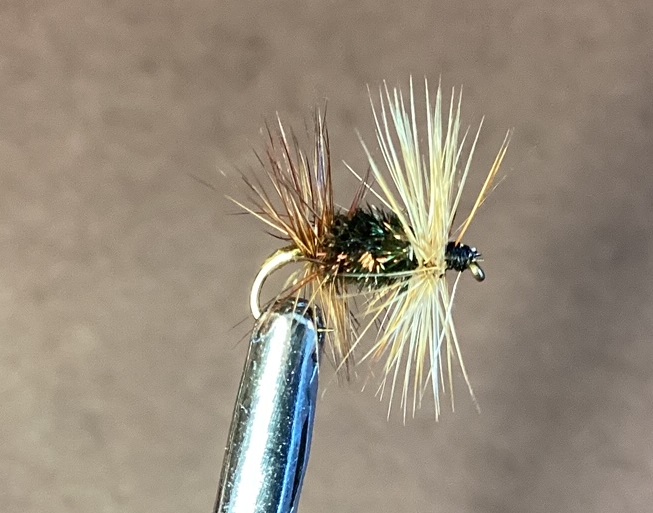
There are around 200 species of mayflies in the western USA alone. This one has brown coloring. This pattern can be tied to represent many species by changing color and size. This fly is best tied by experienced tiers.
HOOK: TMC 2487. Sizes 14–22. Crimp barb.
THREAD: Brown 12/0 or 14/0 is best. Attach 1/3 back on shank.
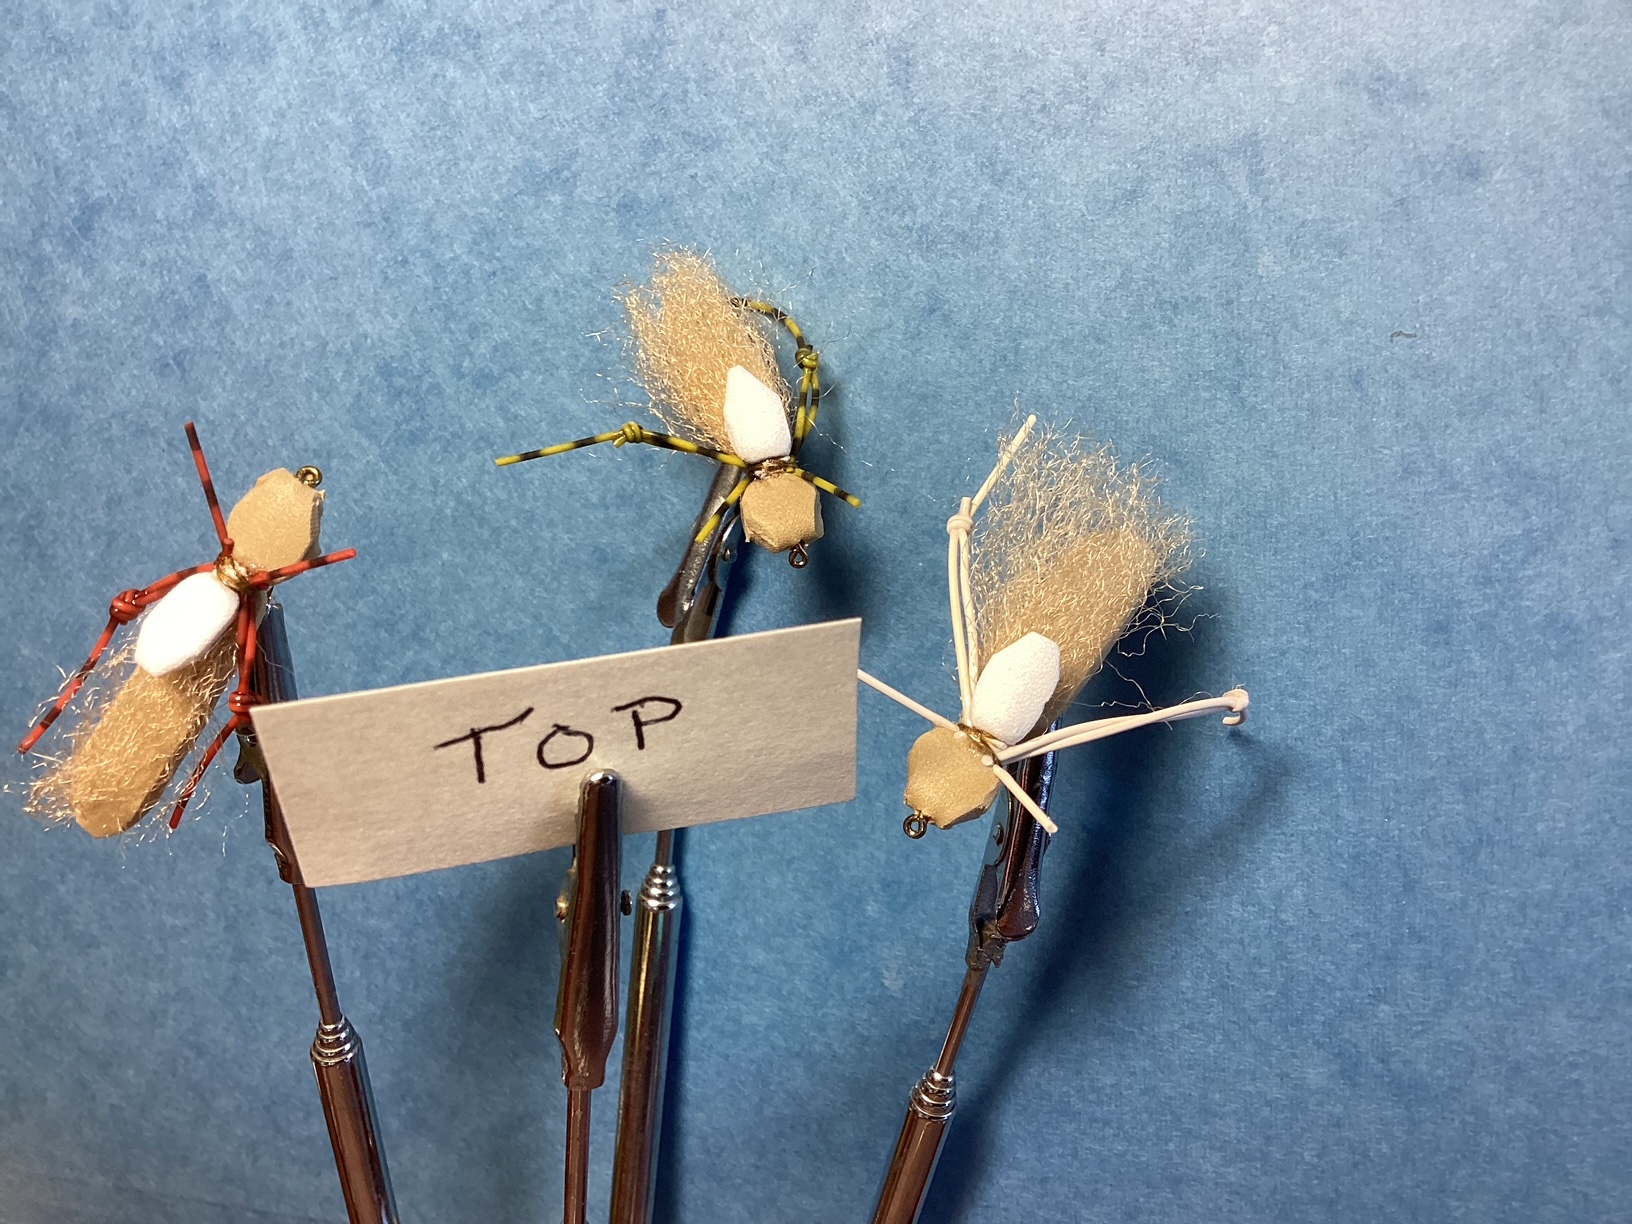
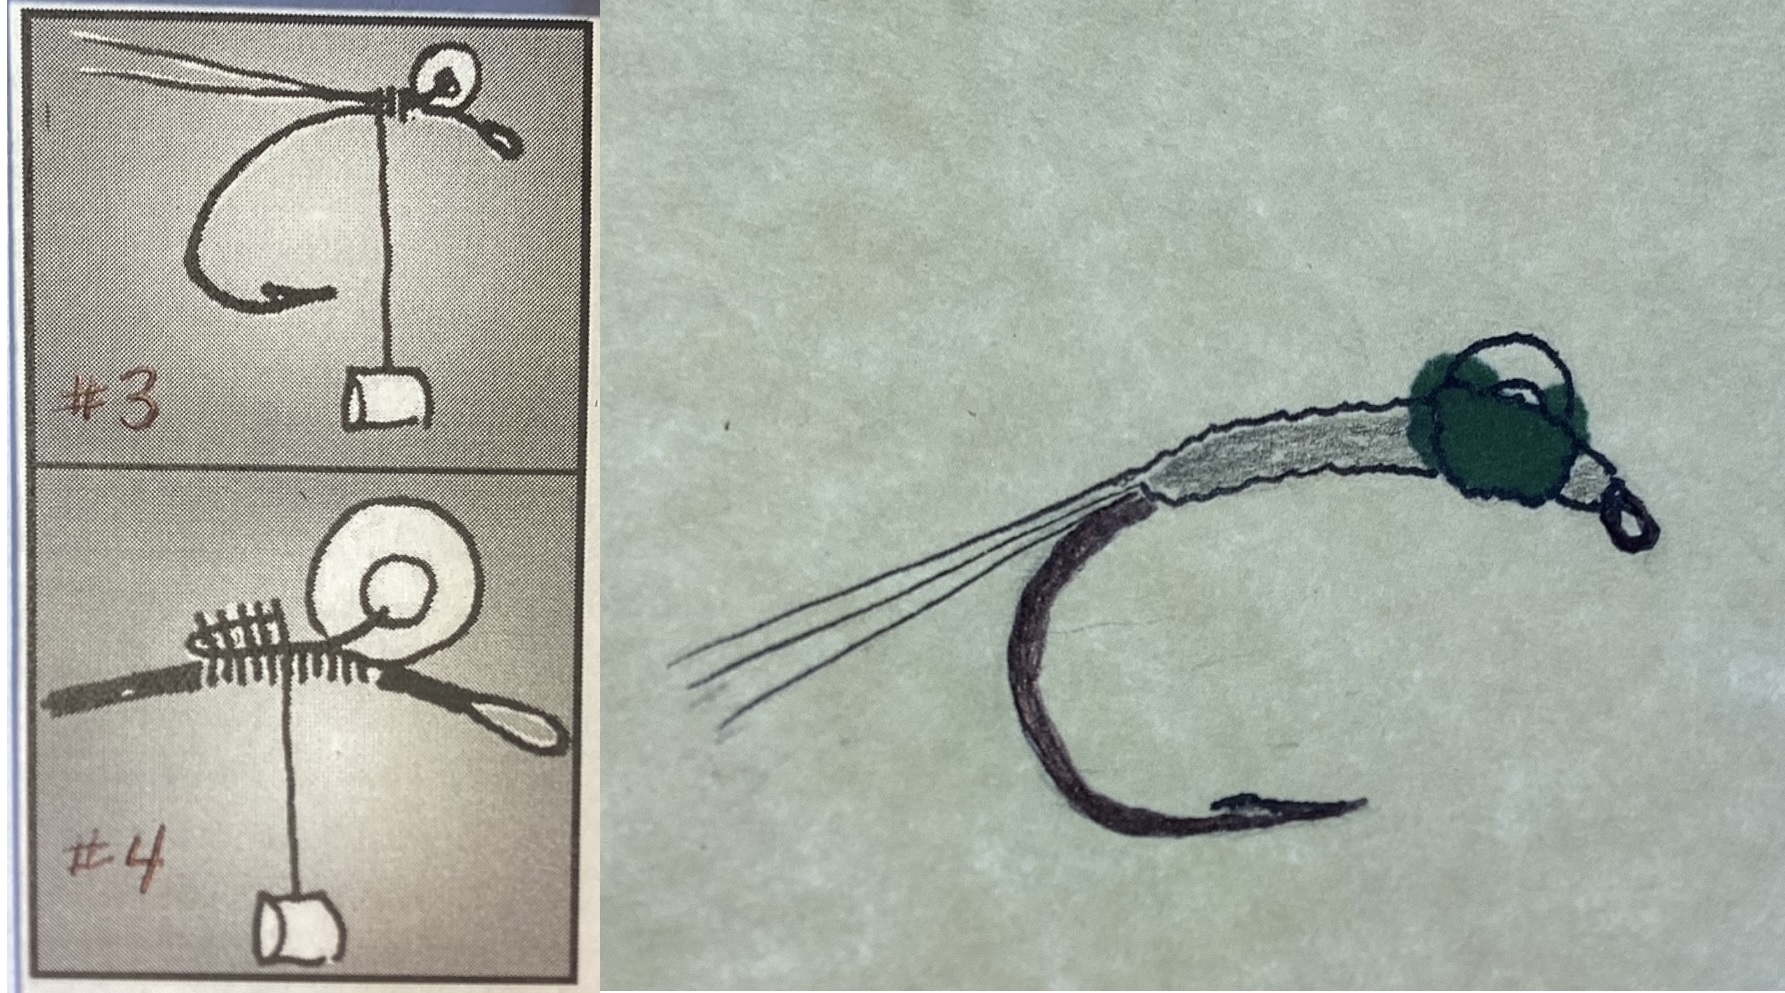
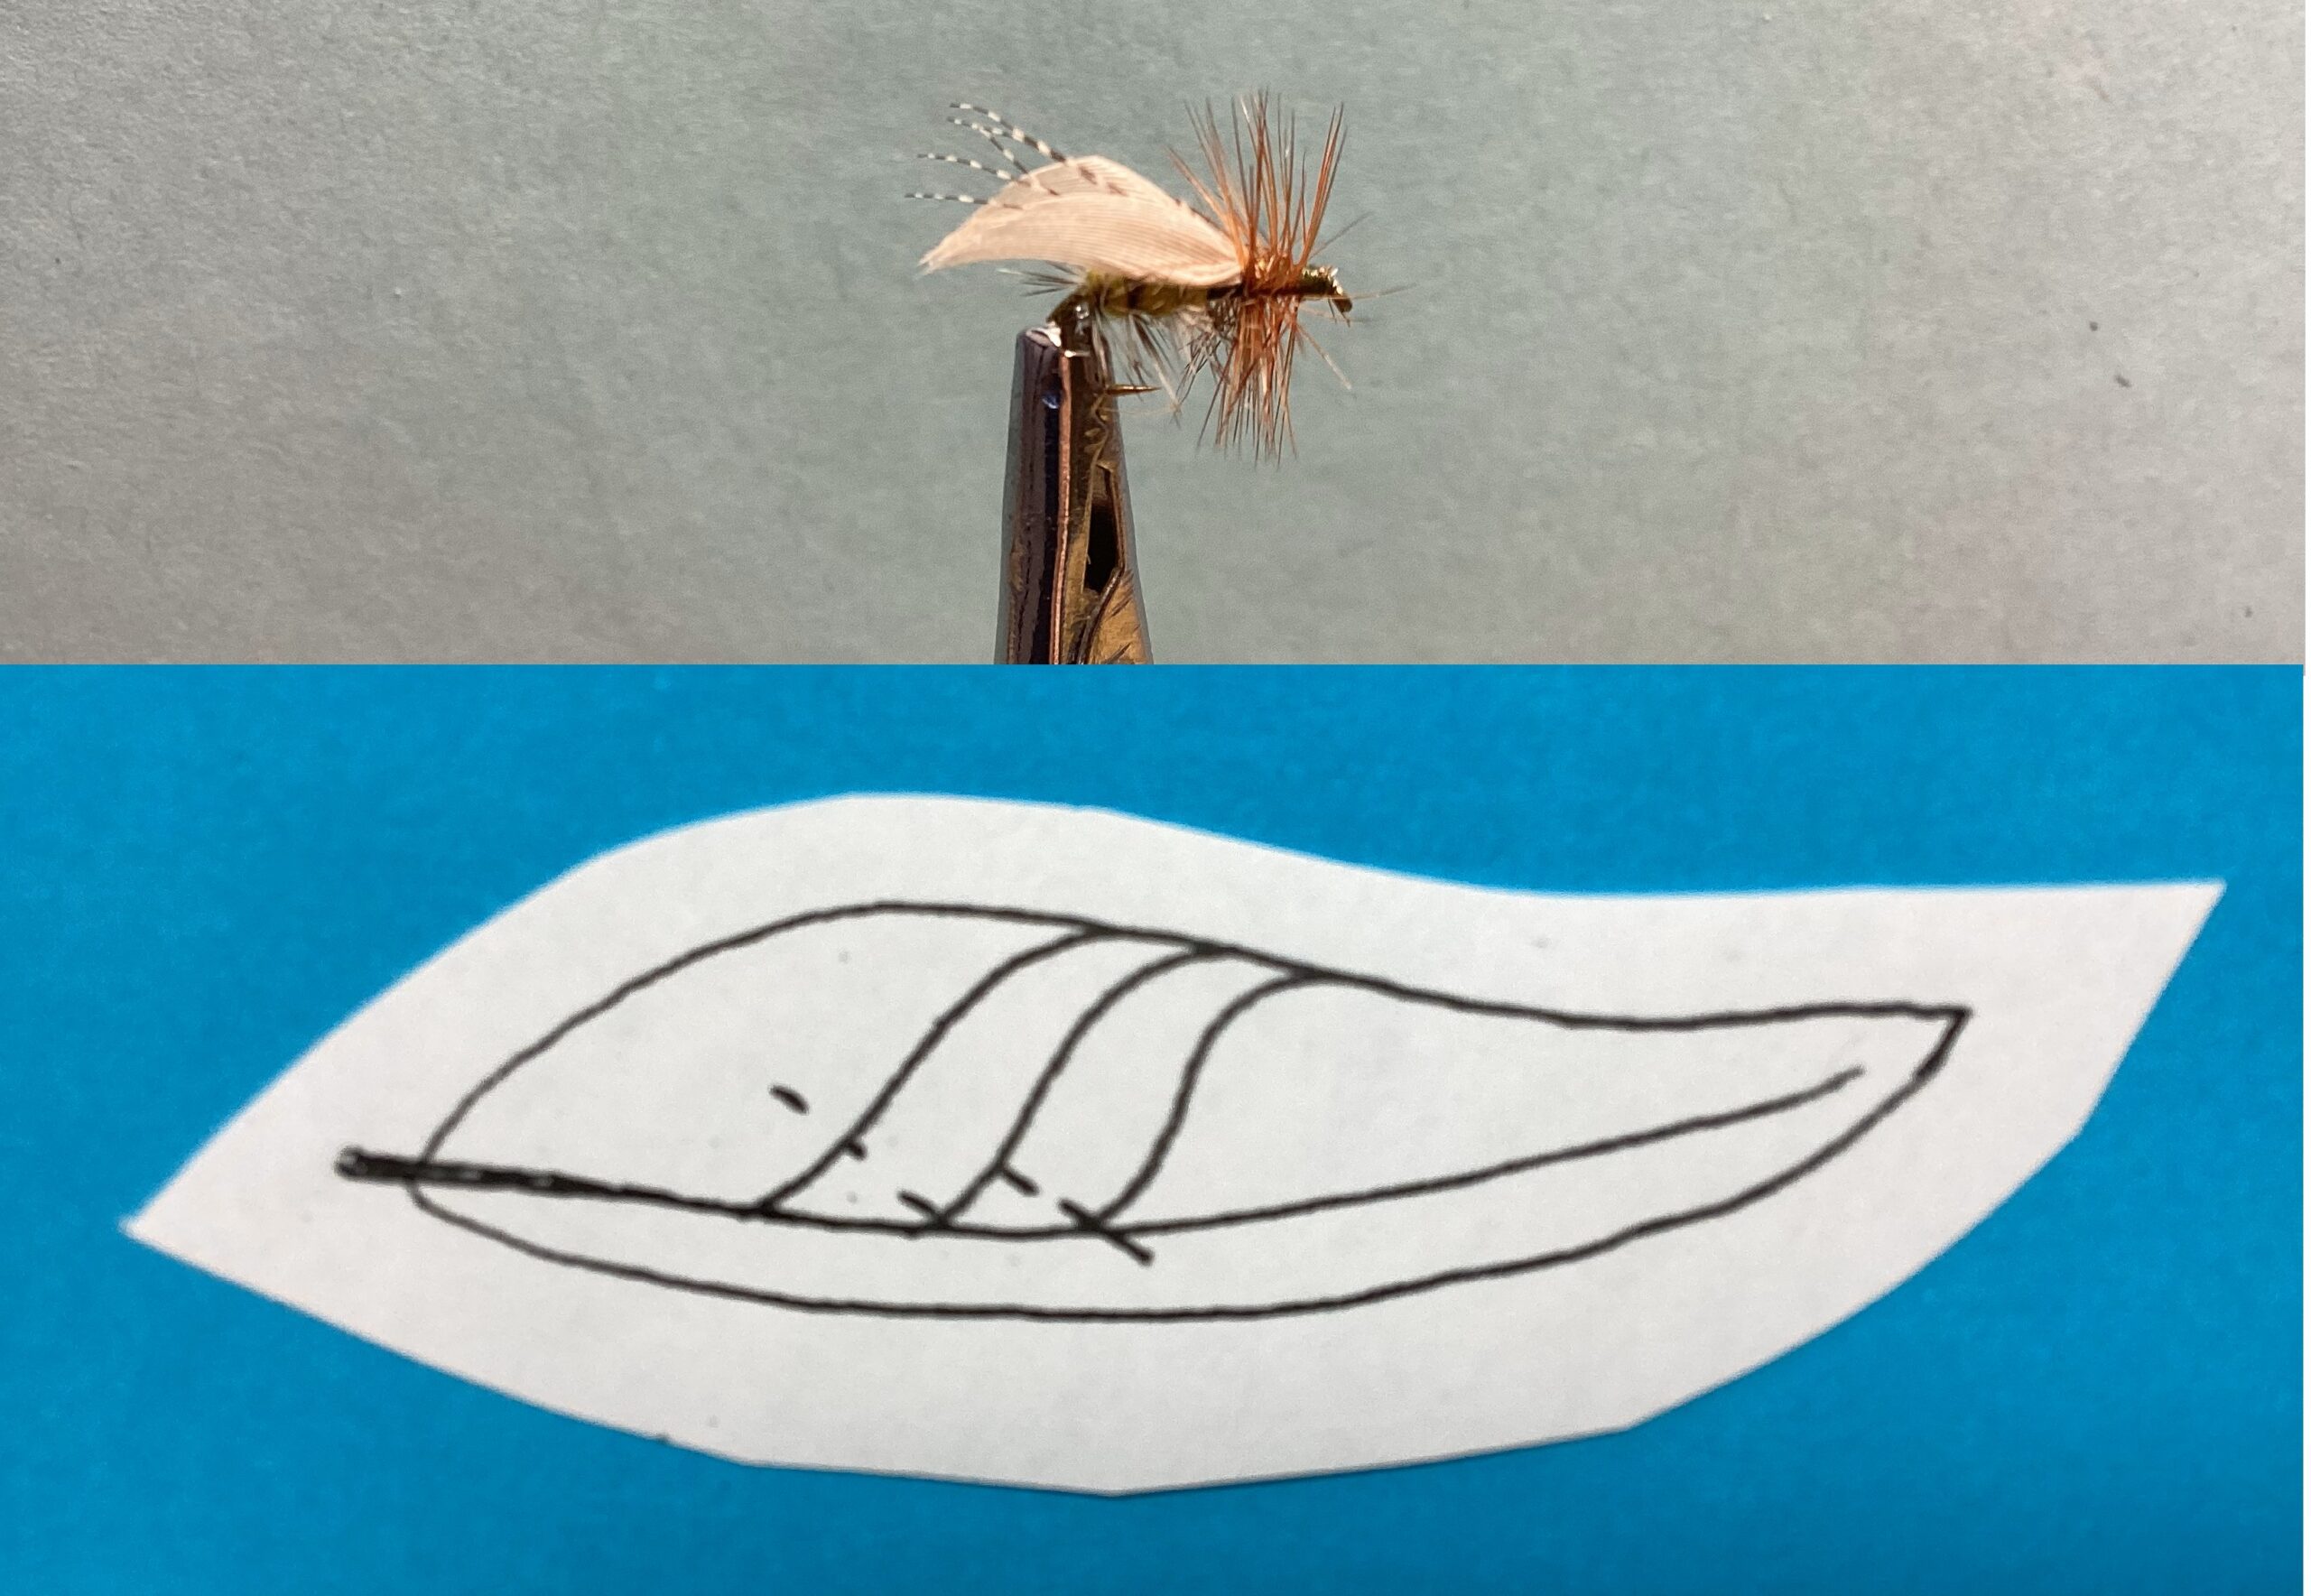
POST: Closed cell foam cylinders 1/16” thick for the larger hooks. Thinner for the small hooks. Lay on top of shank with end extending a little forward of hook eye. Make 4 snug wraps, one on top of the last. Make two wraps on shank in front of post. Pull foam to the rear and cut very close to thread wraps. Snugly tie down cut end of foam. Make several thread wraps in front of post to stand it upright. Make several thread wraps around base of post to make base for hackle.
TAIL: Brownish gold spooled Antron. Using bodkin separate 6 to 8 fibers from strand. Lay on top of shank, butted up against post and extended to the rear. Touching thread wraps back to a little beyond rear of shank. Cut tail fibers equal to 1/2 body length.
BODY: Super fine or X-dub dubbing, brown color. Dub a very thin tapered body forward to base of post. Reposition hook so that post faces upright.
HACKLE: Grizzly dyed golden brown. Barbs equal to 2x hook gap. Cut about six barbs short on each side of butt end of stem “crew cut”. With dark side facing you tie crew cut in at base of post then raise hackle upright, make 2 to 3 wraps around hackle stem and base of post to keep it upright.
THORAX: same material as body. Dub a small thorax around base of post. Position thread hanging on your side in front of post.
HACKLE CONTINUED: Wrap hackle around base of post 2 to 3 times. Hold hackle down with left hand, bring thread up in front of hackle stem to shank level in front of stem. Wrap thread around base of post between hackle and thorax 3 times. Make 3 half hitches behind eye. Cut excess hackle.
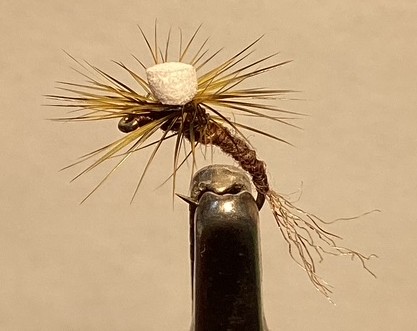
HEAD: Thread. Using a bodkin, make enough half hitches behind eye to form a small thread head. Complete fly by cutting foam post a little above hackle to form a spotlight.
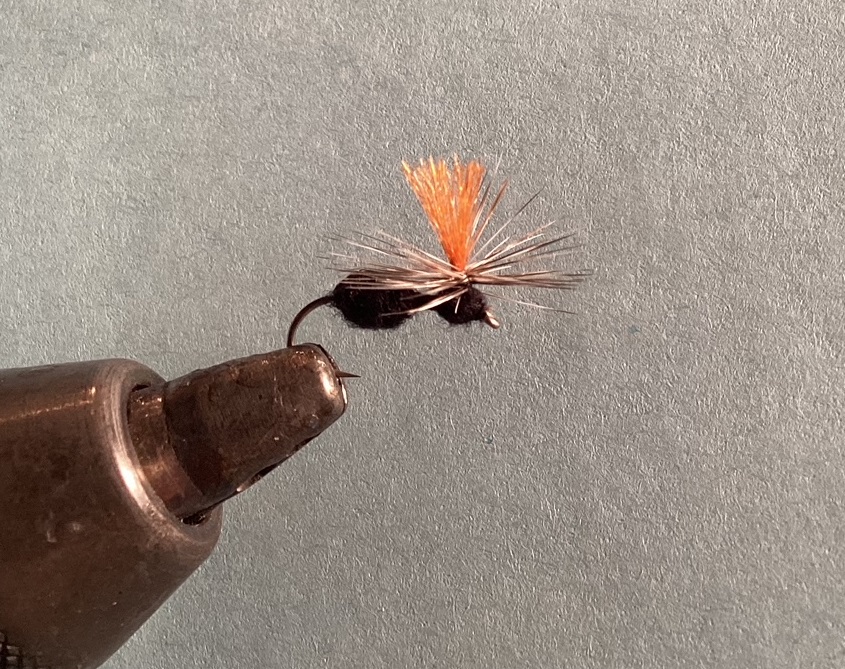
NOTE: sometimes a post of a different color is easier to see. Use a Sharpie to color it pink or orange or chartreuse if desired.
Posted on March 27th, 2025